
Astrophotography is a fascinating and rewarding hobby that allows you to capture stunning images of the night sky. Whether you're interested in photographing the Milky Way, planets, or deep-sky objects, getting started can feel overwhelming.
However, with the right techniques and tools, you can start capturing breathtaking images of the cosmos. Here are some essential tips and guides to help you on your astrophotography journey.
Additional Night Photography Articles
Night Photography Safety Tips
Night Photography Tips and Tecniques
Best Lenses For Night Photography
Amazing Night Photography Tips
The Guide for Northern Lights Photography
One of the most critical pieces /of equipment for astrophotography is a sturdy tripod. Because astrophotography requires long exposure times, even the slightest camera shake can blur your images. A solid tripod ensures your camera remains steady, allowing you to capture sharp and detailed images of the night sky.
This is one of the first steps in night photography and astrophotography. Review different types of tripods here. I personally love a tripod that can go pretty high so I can shoot upwards. Depending on your focal length of the camera, you may have to get low to the ground.
Tip: Hold your camera where you want the composition to be, then place your camera at that spot and try to remember the height. Adjust your tripod towards that specific composition.
Achieving perfect focus in astrophotography can be tricky. The best approach is to manually focus to near infinity. A useful trick is to use your camera’s live view and digital zoom to magnify a bright star. Adjust the focus until the star appears as small and sharp as possible.
If you're capturing a landscape with a night sky, you may also want to stack multiple exposures of the foreground and background to enhance clarity and detail. Stacking also allows you to brighten the foreground without reducing the background.
In astrophotography, the wider the lens aperture, the better. A fast lens with a wide aperture (such as f/2.8 or lower) allows more light to enter, making it easier to capture faint stars and details in the Milky Way.
Commonly used lenses include:
Many astrophotographers achieve phenomenal shots with the Rokinon at a budget-friendly price.
Because the Earth rotates, stars appear to move across the sky in long-exposure photographs. To avoid star trails when using a regular tripod, follow the 500 Rule:
500 / Focal Length = Maximum Exposure Time (seconds)
For example, if you're using a 24mm lens, your maximum exposure time should be approximately 20.8 seconds before noticeable star trails begin to appear.
Tip: Before waiting 20.8 seconds to take the photo, set your ISO high and take a short 1-2 second photo to check sharpness before adjusting settings.
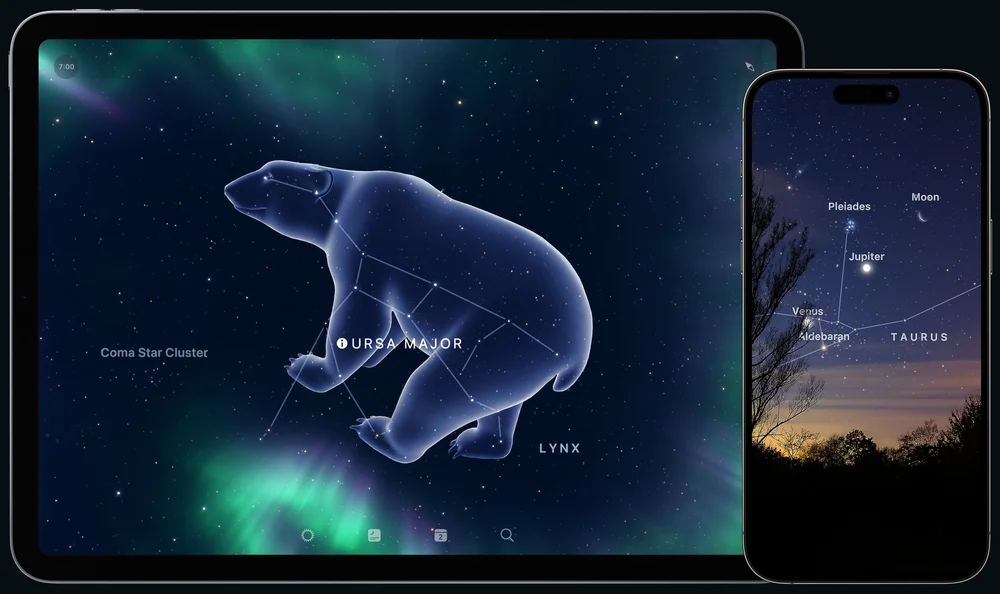
Knowing where and when celestial objects will be visible is crucial for planning your shots. Use sky mapping apps like SkyView, Stellarium, or SkySafari to locate constellations, planets, and the Milky Way.
The one I use is called the Sky Guide. It’s super easy to start using and you just need to match it with the direction you’re looking at.
Tip: Use night mode on your phone to prevent screen brightness from affecting your night vision.
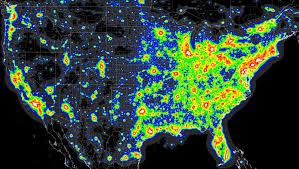
Light pollution can wash out the stars and reduce contrast in your images. To find the best locations for astrophotography, consult light pollution maps like Dark Site Finder or LightPollutionMap.info.
Post-processing is a crucial step in astrophotography. Software like Adobe Lightroom, Photoshop, or PixInsight can help enhance details, bring out colors, and reduce noise. Focus on adjusting contrast, clarity, and white balance to make the galactic core stand out.
Even the slightest press of the shutter button can introduce vibrations into your image. To minimize this, use a remote shutter release or your camera’s built-in timer.
What ISO should you use? This varies by camera, but don’t be afraid to push your ISO well above 1,200 to 3,200 or 6,400, depending on your camera’s noise reduction capabilities.
Key aspects of editing include stacking images, reducing noise, and bringing out highlights to enhance clarity.
In the coming days, I will share more on this topic. Stay tuned!